Projects ᴮᴱᵀᴬ
Learn how to create a project
This is a beta offering. You can request access to this beta feature through your JWX representative.
By using this documentation, you are agreeing to abide by the terms of the JWP Beta Program Agreement.
A project organizes the transformation workflow in JWX Studio. It acts as the container that holds the source content, transformation settings, and generated outputs for a transformation.
When creating a project, you define the following:
- Source content to transform
- One or more transformation agents used to process the content
- The character used for the voice
A project provides a single workspace where source content can be transformed into one or more outputs.
Create a project
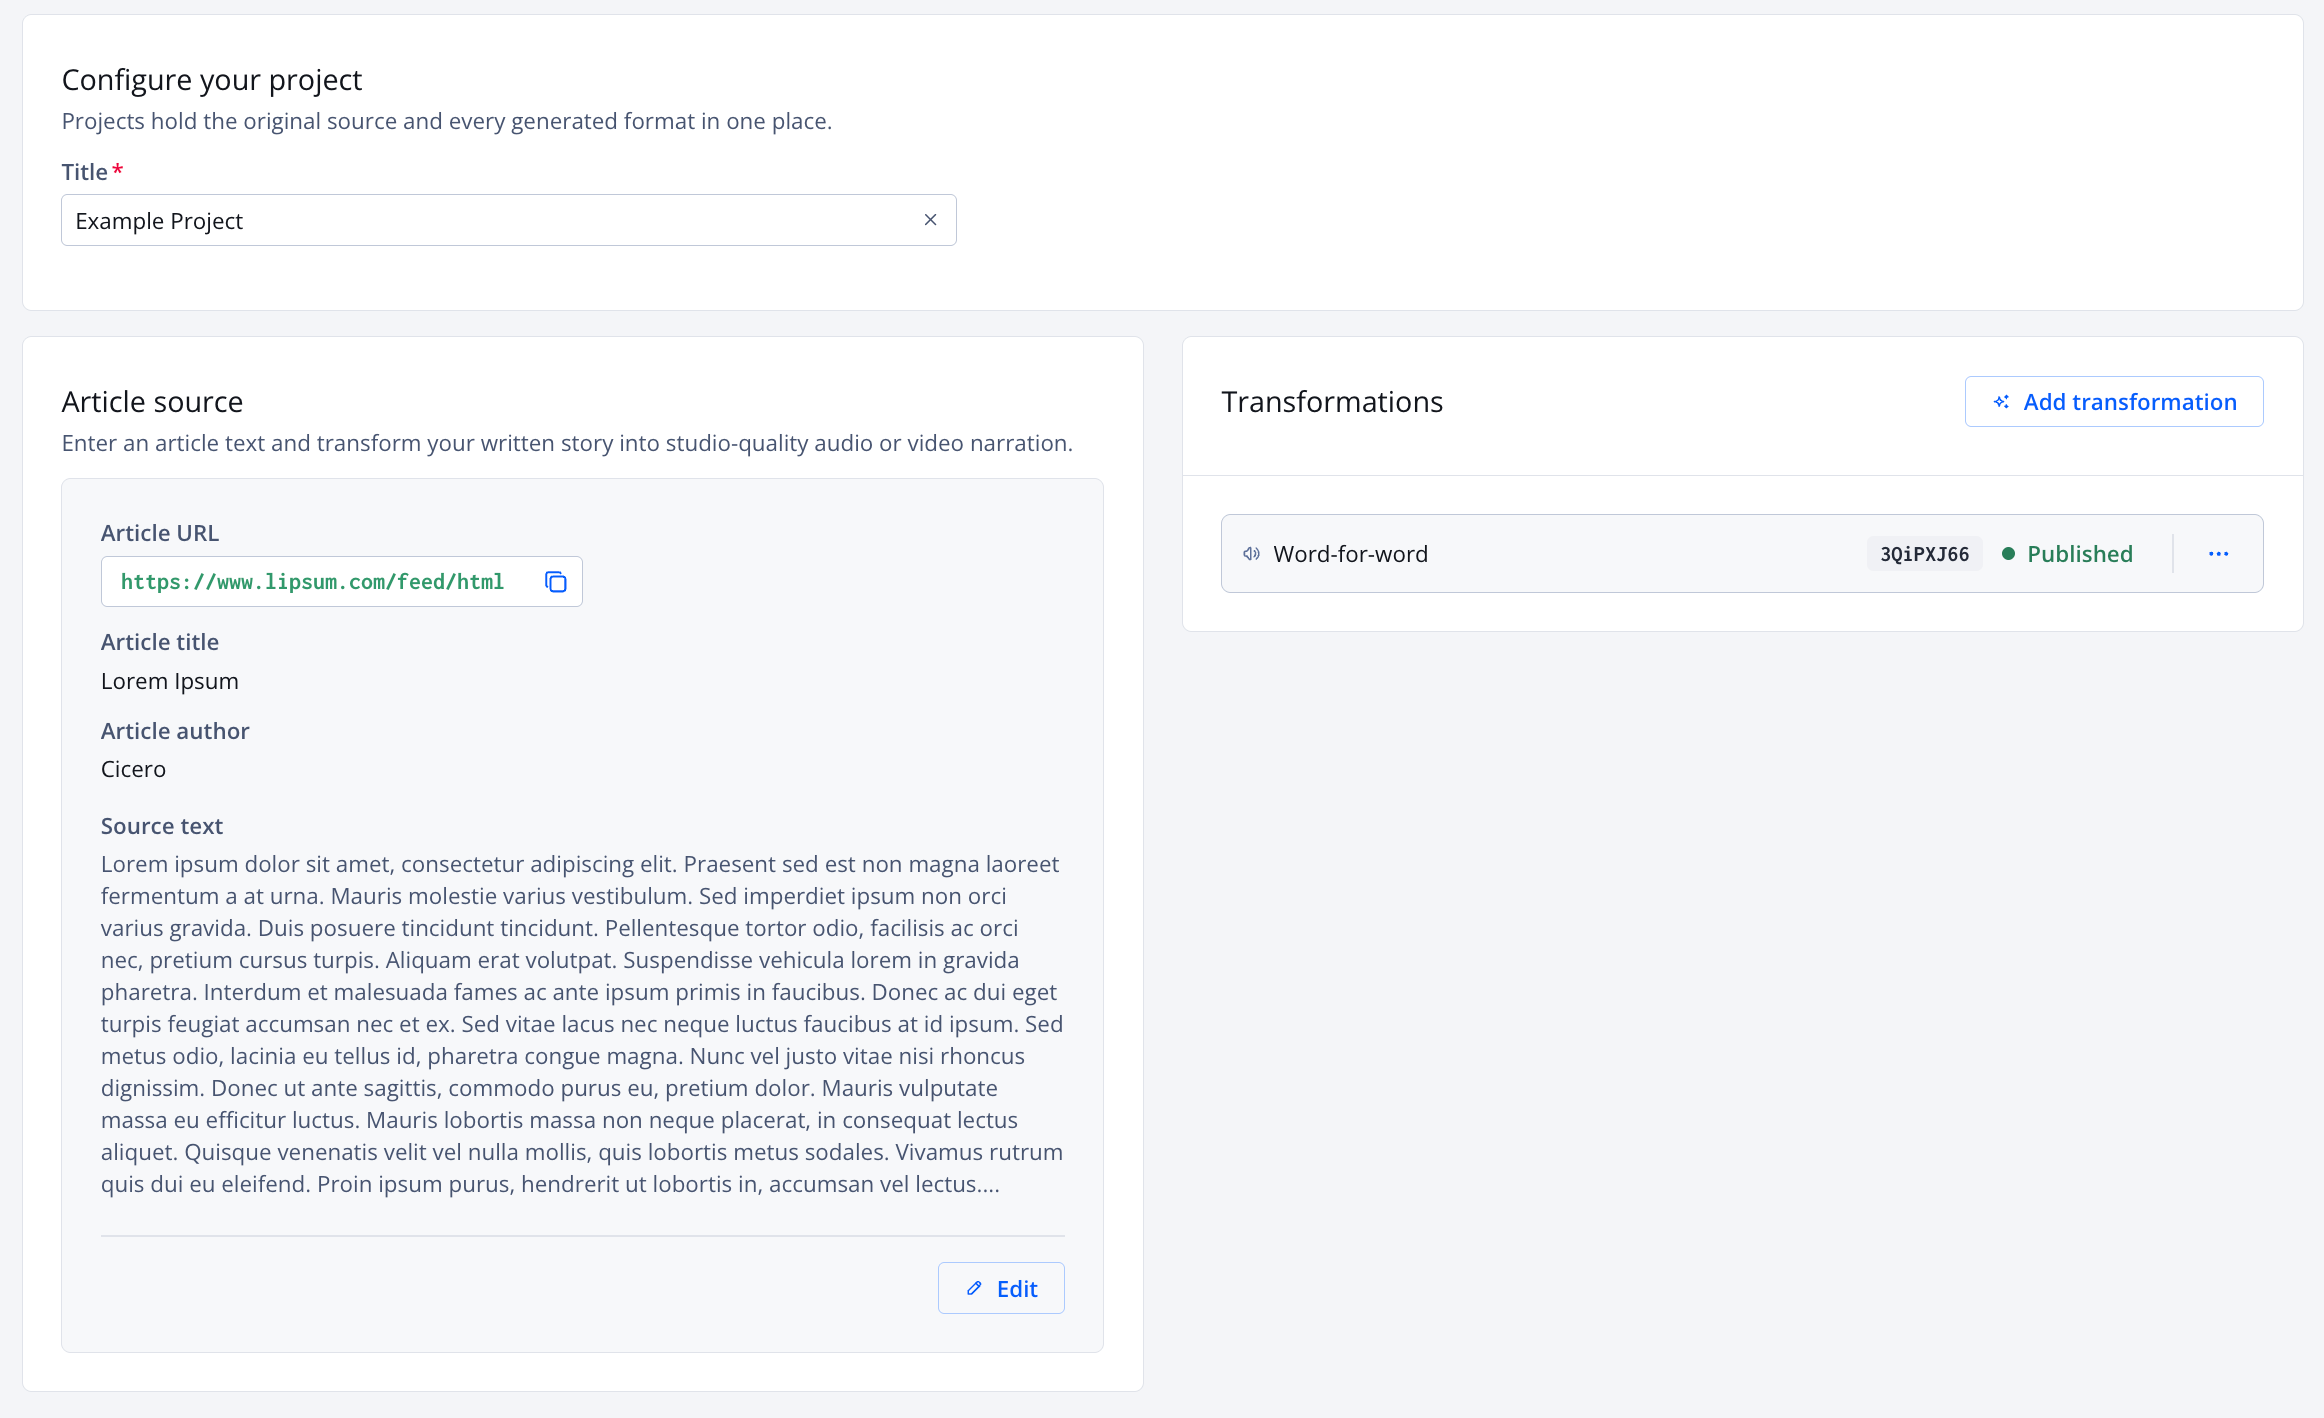
Project settings page
Follow these steps to generate a project:
- On the Studio page, click Create from article. The project setting page appears.
- Enter a Project title. This name allows you to distinguish it from other projects on the Projects page.
- Under Project source, click Add source. The Add source panel opens.
- Enter the Article URL.
The article URL must not be used by another project.
- (Optional) Enter the name of the Author.
- Enter the full Article text.
- Click Save. The Add source panel closes and the Project source section populates with the information entered. The Transformations section appears.
- Under Project delivery, define an External ID or Page URL:
- External ID: (Recommended) Allows JWX to match assets created in this project when delivering an Audio experience
- Page URL: Allows JWX to target the specified page if the External ID has not been set
- In the Transformations section, click Add transformation. The Select transformation agents panel opens.
- (Optional) In the search field, enter the partial or full name of a transformation to filter the list.
- (Optional) From the Agent type dropdown menu, select an option to filter the list of transformation agents.
- Select one or more transformations.
- Click Save. The Select transformation agents panel closes. The transformations begin to be generated.
- Click Save. The project is saved and listed on the Studio page in the Projects section.
Updated 5 days ago